
Guide for installing and properly insulating the 2616 laser tube.
This document will explain the procedure of how to properly insulate the 2616 laser tube. These tubes need additional insulation due to being so close to the AC power lines in the machine.
You will require:
- 1 roll of insulation tape

- Plastic tubing
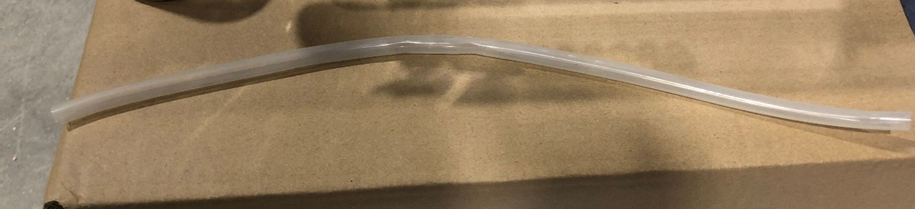
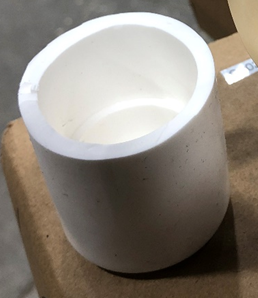
- End cap to cover the laser tube
Instructions
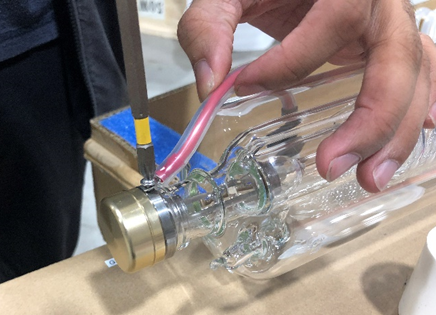
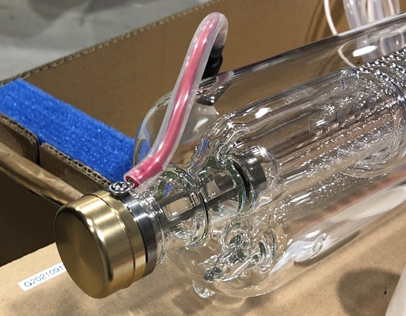
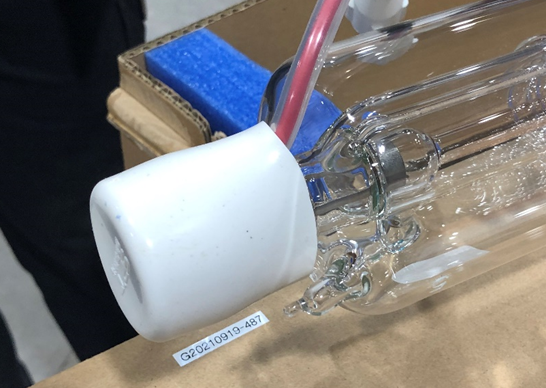
- First step will be to remove the cap off the anode end of the tube. Once the anode wire is exposed, unscrew the anode wire. It should look like the picture below.


Remove the cap, then remove the anode wire so the end is bare. - Next, add the plastic tubing to the red anode wire. Afterwards, screw the anode wire back into place.
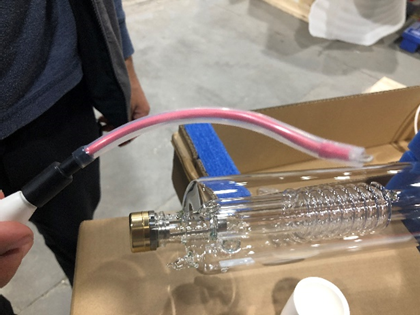
The wire is now well insulated on the back end of the tube.
- Now that the anode wire is nice and secure on the back end of the tube, we will move on to insulating the end with the insulation tape. Cut about 9 to 10 inches of insulation tape.
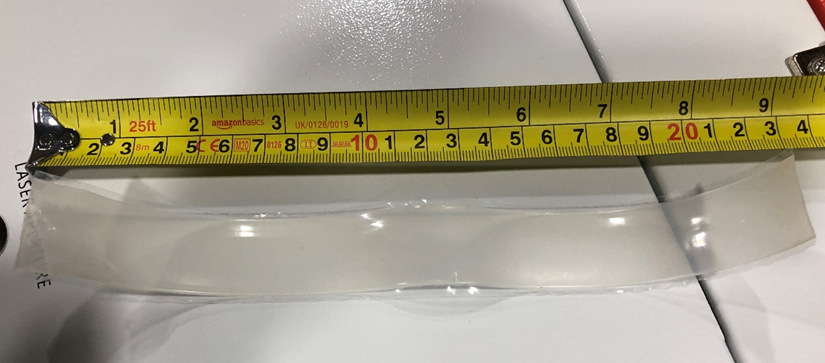
About 9 to 10 inches of insulation tape will result in about 2 – 3 wraps around the back end of the tube.
- Next, peel off the plastic from the insulation tape. The insulation tape is self fusing, so no additional sticking agents are required. Wrap the tape 2 to 3 times around the back end of the tube to get even coverage of the back end.
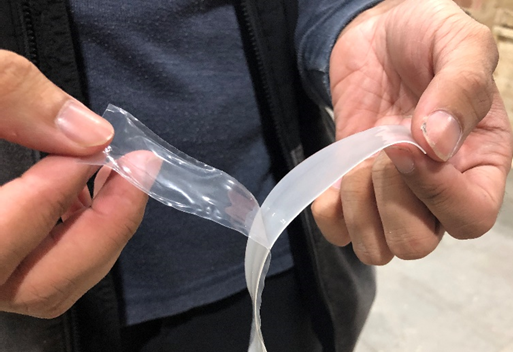

It is imperative that the plastic is removed from the tape. Be sure to pull tightly when wrapping the tape around to get the tape to fuse to itself.
- If you notice the cap is cut improperly, and does not cover enough of the back end of the tube, you can add more insulation tape to the back as shown below. Once this is done, you can put the cap back on the back end of the tube.
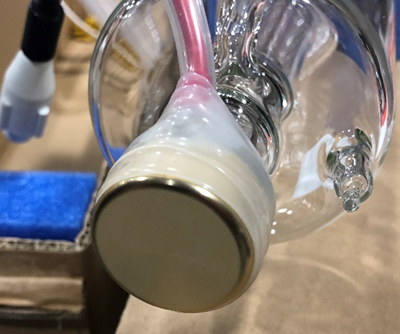

In the second picture, circled in red is the extra strip of insulation tape you can add if you feel that the cap is not sufficient insulation.
Once the cap is back on the back end of the tube, the tube is now well insulated, and can be put in the 2616 machine.