
This document will walkthrough how to remove the old bearing and install the new one.
*Note: Remember to always follow the maintenance protocols as to not damage the bearing. Not following maintenance protocols may lead to voiding warranty for said part.*
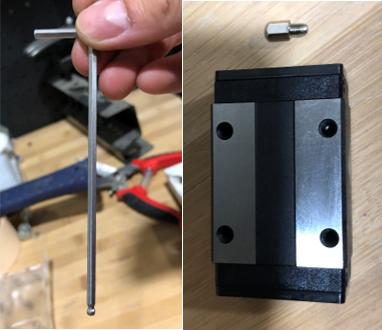
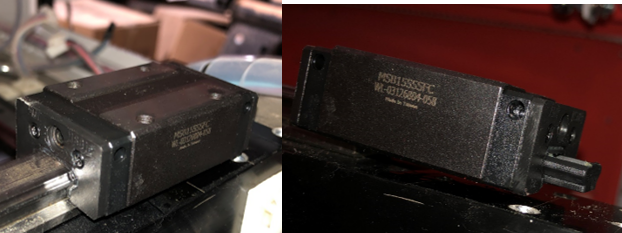
First, you will need the appropriate bearing, as well as a 3 mm allen key, as shown in the pictures below.
The next step will be to remove the laser head. To do so, use the allen key to remove the 4 screws holding the laser head to the bearing.
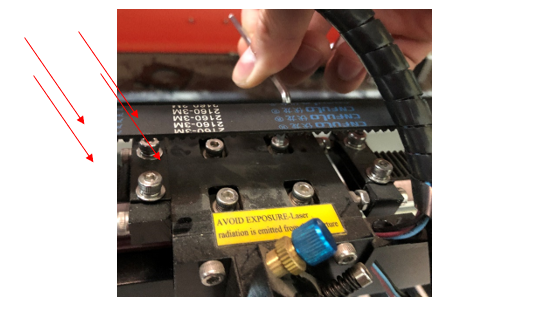
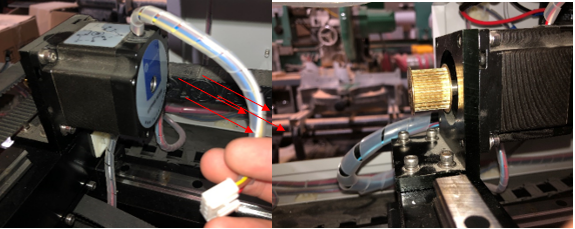
Once all the screws are removed, the bearing should be on rail alone. The next step will be to remove the motor bracket. You may need to loosen the belt first to remove the belt from the motor. Then, remove the four screws holding the bracket in place. Make sure to unplug the motor as well.
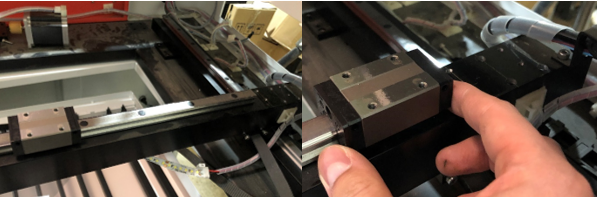
Next, the only thing that should be there is the bearing on the rail. Slide the bearing off the rail. You may dispose of the old bearing.
Looking at the new bearing, there should be a plastic piece on the underside of the bearing. It should be able to slide off, however DO NOT remove the plastic piece. The plastic piece keeps the ball bearings in place.
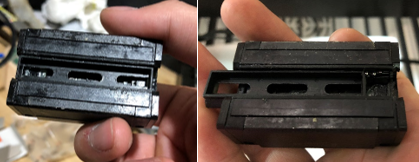
Slide the bearing on the rail. You should see the plastic piece start to move as you slide the bearing onto the rail. Once the bearing is slid all the way on the rail, the plastic piece will be completely removed.
As shown, the plastic piece starts to slide off as you slide the bearing on the rail.
Once the bearing is back on the rail, you can now reassemble the laser head and motor bearing. Be sure to retighten the belt using the side screws again.
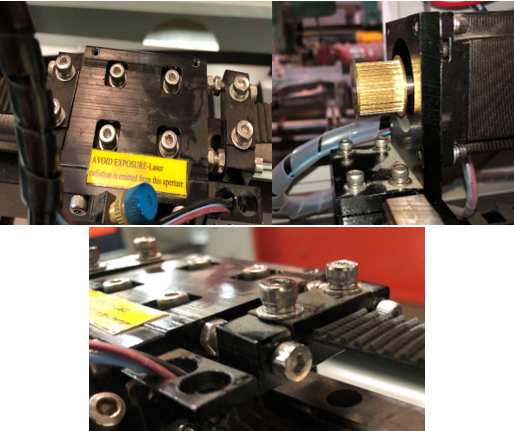
The side screws will aid in loosening and tightening the belt.