EzCad2 process for marking machine tags with Galvo Fiber Laser.
The small AP lazer machines only require on tag. Machines that are bigger (2816 and up) require two tags; one for the machine, and one for the z-table. Ensure you have EzCad2 installed on your laptop before trying to make a tag for the machines, as the program is needed to make the tag information.
- Connect the laptop to the laser machine, and turn the machine on.
- Open EzCad2 with the machine connected. If the machine is not connected, the demo version of EzCad2 will be opened instead. A warning will pop up, just click ok to bypass.
- With EzCad2 open, open the appropriate file corresponding to the tag number. The letter in front will determine which machine it is for. The letters are as follows.
a. A = 2816
b. B = 4836
c. C = 4024
d. E = 1812
e. F = 4836E
f. G = 2616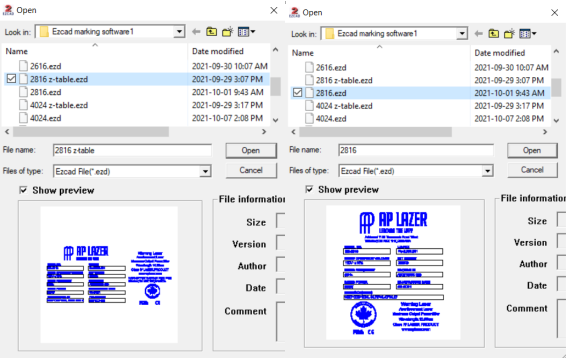
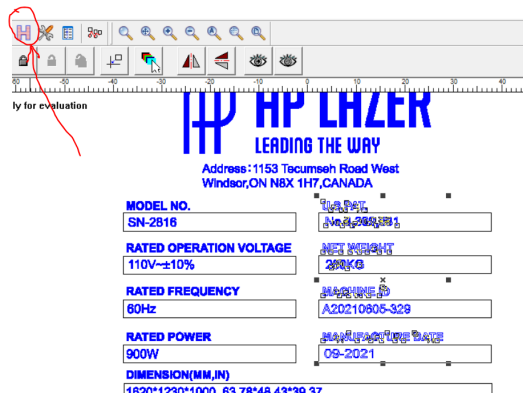
- Once the appropriate file is open, select the block of text to delete the hatch (the inside fill of the letters). This will allow you to edit the text that is unhatched.
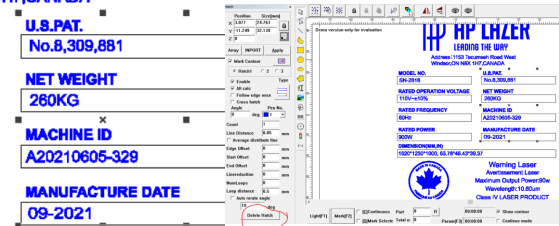
- Edit the machine ID to the ID that you need. Edit the manufacture date to the appropriate date (month-year).
- Once satisfied. select the block of text once more and add a hatch. This will refill the text.
- Place the metal tag in the machine and align it with the rig in the machine to center the tag. Try to find a tag that does not have many scratch marks or imprints.
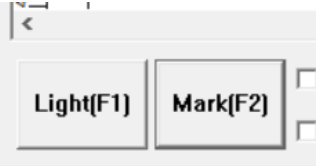
- Press the light button in Ezcad2 to check the area to be lasered. It should create a red outline around the outer limits of the tag. When the area is checked and is appropriate, click stop to stop the area check.
- Close the laser door, then click on mark. WHILE MARKING, DO NOT OPEN THE DOOR UNTIL THE MARKING POP UP IS GONE. When complete, open the laser door and remove the tag.