Necessary Materials:
- Multimeter that can read milliamps.
- Gator clips
- Phillips head screwdriver
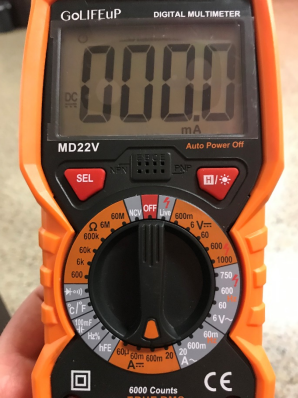
Take your multimeter and put your black wire into the COM and red wire into the mA, uA spot.
Disconnect the white wire from the laser head using your Philips screwdriver. Once the wire is out, put the screw back into the laser.
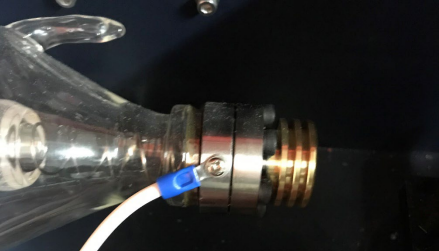
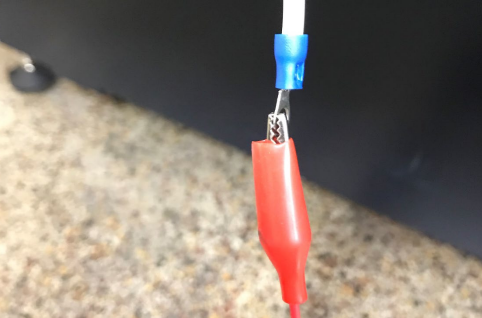
Hook your gator clips to your multimeter and connect your Black COM onto the screw on the laser head and your RED mA wire onto the end of the white wire.

Set your power supply to 200 or above mA (this one is set to 600ma).
Leetro Controllers (LaserCut)
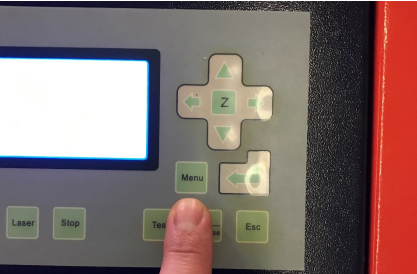
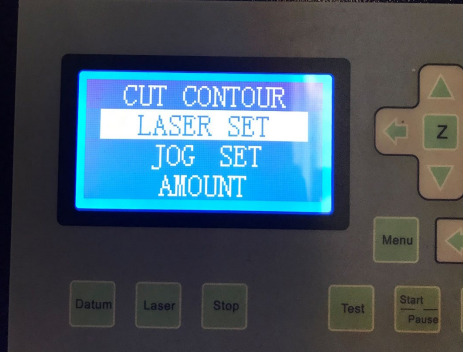
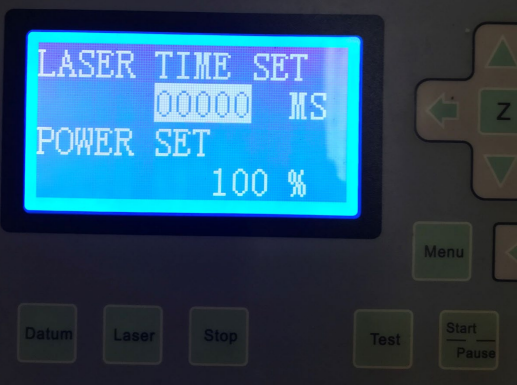
At the front of your control panel, set the laser power to 100 by Pressing the MENU > Laser Set > Enter > Laser Time Set should be set to 00000 and power to 100 > Enter.
If you have someone to assist, you can have them hold down the laser button to fire the laser while you check the reading. If you are by yourself, you will need to check to see first if you have a small black button on your power supply.
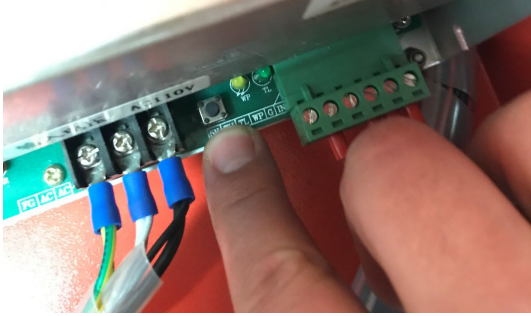
You will first need to fire from the control panel by pressing the Laser button and then you will be able to fire from the power supply.
If you do not have this button on your power supply you will need to draw a 12" long line in LaserCut that is set to Cut, set your speed to .25 and power to 100. Find a hard non-flammable piece of material such as granite and run the cut while you check the power output of your power supply. Below is a table of what the mA should be set for based on the wattage of the tube.
| Tube Wattage | Amperage |
| 130 Watt | 29.5 mA |
| 100 Watt | 28.5 mA |
| 90 Watt | 27.5 mA |
| 60 Watt | 22 mA |